Black striped socks
Black striped socks made in the usa
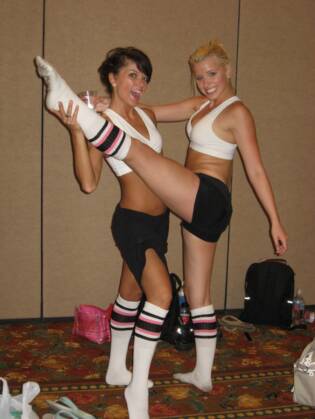
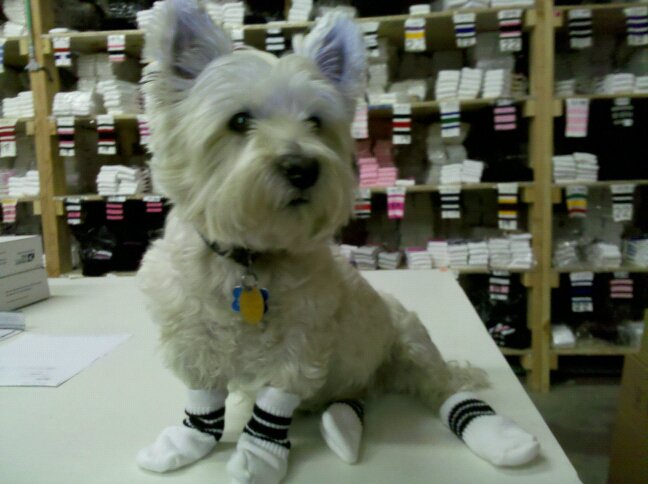
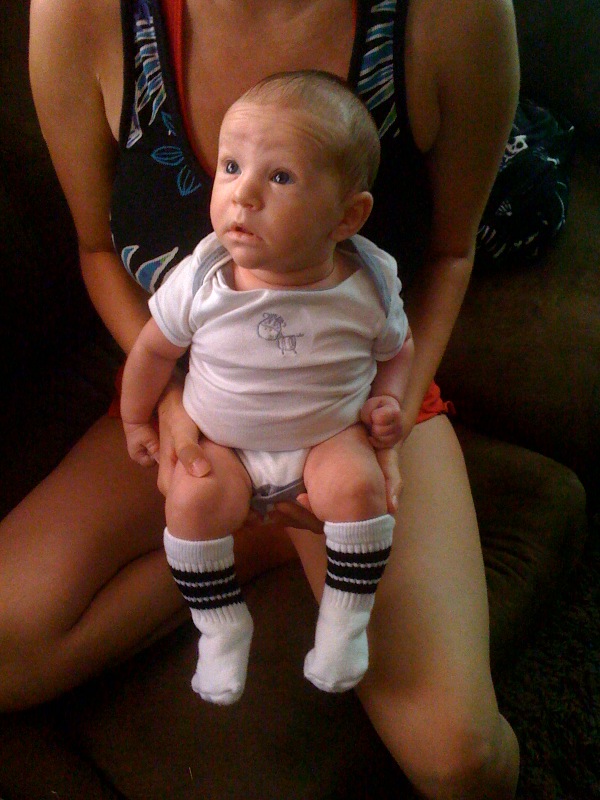
Black striped tube socks made in the USA
Skatersocks makes the best black striped tube socks since 2003

Black and Pink striped socks
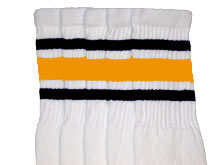
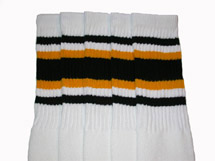
Black and gold striped socks
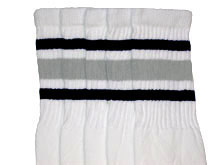
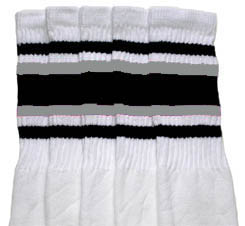
Black and grey striped socks
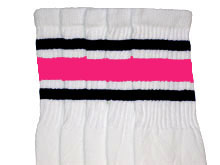
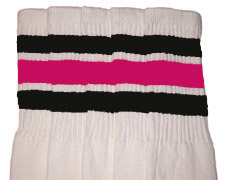
Black and hot pink striped socks
Black and maroon striped socks
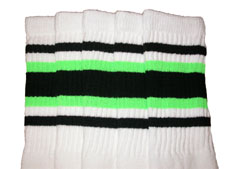
Black and neon green striped socks
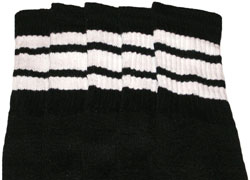
Black and white striped socks
Black and hot pink striped socks
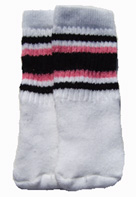
Black and bubblegum pink striped socks
Black and grey striped socks
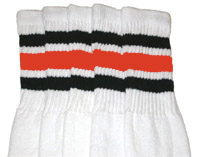
Black and orange striped socks
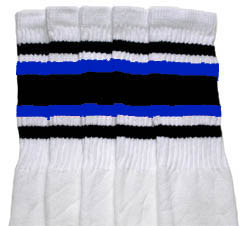
Black and purple striped socks
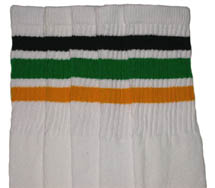
Black green gold striped socks


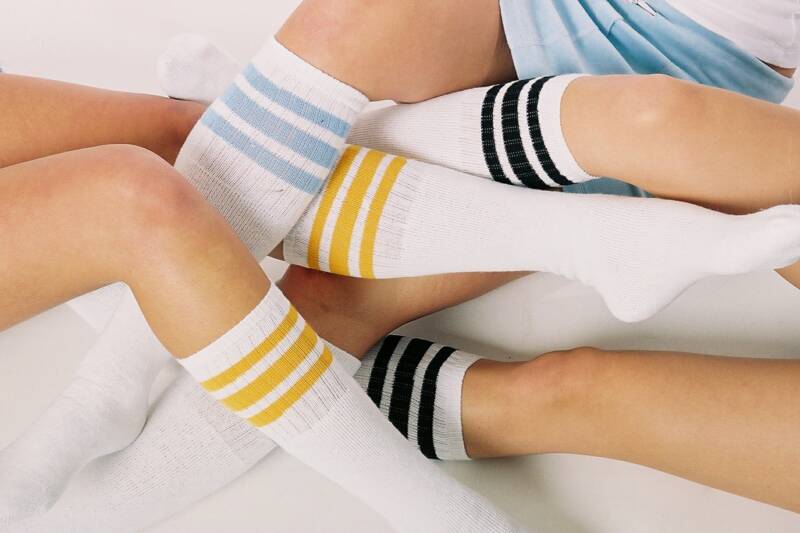

All the socks above are made right here in the USA from www.skatersocks.com


Check out our friends